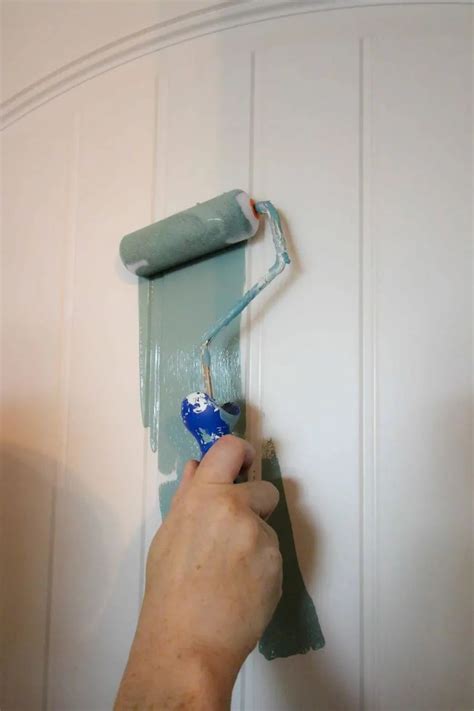
Applying paint like a professional can make a significant difference in the overall appearance and durability of your painting project. Whether you're a seasoned DIY enthusiast or a beginner, mastering the techniques of paint application can help you achieve a flawless finish. In this article, we'll explore five ways to apply paint like a pro, including the tools you'll need, the preparation required, and some expert tips to help you achieve a professional-looking result.
Preparation is Key
Before you start painting, it's essential to prepare your surface properly. This includes cleaning the area, fixing any holes or cracks, and sanding the surface to create a smooth finish. A well-prepared surface will help the paint adhere better, reducing the risk of peeling or flaking.

Tools You'll Need
To apply paint like a pro, you'll need the right tools. Here are some essentials to get you started:
- High-quality paintbrushes or rollers
- Paint tray or container
- Paint roller extension pole
- Sandpaper or a sanding block
- Drop cloths or tarps
- Masking tape
1. Tape Off the Edges
Taping off the edges is a crucial step in achieving a professional-looking finish. Use masking tape to create a seal between the area you're painting and the surrounding surfaces. Apply the tape carefully, making sure it's straight and smooth.

Expert Tip:
Use a credit card or a similar tool to press the tape firmly onto the surface, ensuring it's securely in place.
2. Apply a Primer (Optional)
If you're painting over a dark or bold color, or if the surface is particularly porous, consider applying a primer first. Primer helps create a uniform base coat, ensuring better paint adhesion and coverage.

Benefits of Primer:
- Improved paint adhesion
- Enhanced coverage
- Reduced risk of peeling or flaking
3. Paint in Sections
Painting in sections helps you maintain even coverage and avoid streaks. Divide the area into smaller sections, and complete each one at a time.

Expert Tip:
Use a paintbrush to cut in along the edges, and then use a roller to fill in the larger areas.
4. Work in Thin Coats
Applying paint in thin coats helps prevent drips and unevenness. Work in thin, even layers, allowing each coat to dry before applying the next one.

Benefits of Thin Coats:
- Reduced risk of drips and unevenness
- Improved coverage
- Enhanced durability
5. Remove Tape and Clean Up
Once you've completed the final coat, remove the tape and clean up any spills or messes. Touch up any areas where the paint may have gotten on the surrounding surfaces.

Expert Tip:
Use a damp cloth to remove any spills or messes, and avoid using harsh chemicals or abrasive cleaners.


By following these five ways to apply paint like a pro, you'll be well on your way to achieving a professional-looking finish. Remember to always prepare your surface properly, use the right tools, and work in thin coats. Happy painting!
What is the best way to prepare a surface for painting?
+The best way to prepare a surface for painting is to clean it thoroughly, fix any holes or cracks, and sand it to create a smooth finish.
What is the difference between a paintbrush and a roller?
+A paintbrush is used for cutting in along edges and creating sharp lines, while a roller is used for covering larger areas and creating a smooth finish.
How many coats of paint should I apply?
+The number of coats you should apply depends on the color and type of paint you're using, as well as the surface you're painting. It's generally recommended to apply two to three coats, allowing each coat to dry before applying the next one.
