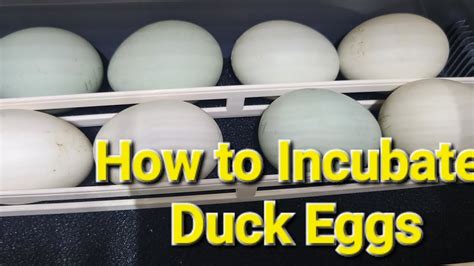
Incubating duck eggs can be a thrilling experience, especially for poultry enthusiasts and farmers. However, it requires careful attention to detail and a thorough understanding of the incubation process. In this article, we will guide you through the 7 essential steps to successfully incubate duck eggs and increase your chances of hatching healthy ducklings.

Step 1: Prepare the Incubator
Before starting the incubation process, it is crucial to prepare the incubator. This involves setting the temperature, humidity, and turning mechanisms to ensure optimal conditions for the developing embryos. The ideal temperature for incubating duck eggs is between 99°F and 100°F (37°C to 38°C), with a relative humidity of 50-60%. Make sure the incubator is clean, well-ventilated, and free from drafts.
Step 2: Select and Prepare the Eggs
Selecting high-quality eggs is vital for successful incubation. Look for eggs that are clean, dry, and free from cracks. It's essential to handle the eggs gently to avoid damaging the embryos. Before placing the eggs in the incubator, ensure they are at room temperature (around 70°F to 75°F or 21°C to 24°C) to prevent sudden temperature changes.

Step 3: Set Up the Incubator
Once the incubator is prepared, and the eggs are selected, it's time to set up the incubator. Place the eggs in the incubator, making sure they are pointing downwards to prevent the air sac from becoming too large. Set the incubator to the desired temperature and humidity levels, and ensure the turning mechanism is working correctly.
Step 4: Monitor the Incubator
Monitoring the incubator is crucial to ensure optimal conditions for the developing embryos. Check the temperature, humidity, and turning mechanisms regularly to ensure they are within the recommended ranges. It's also essential to maintain a clean and well-ventilated incubator to prevent the buildup of bacteria and other microorganisms.

Step 5: Turn the Eggs
Turning the eggs is essential to prevent the yolk from sticking to the shell and to ensure even heating. Gently turn the eggs 2-3 times a day, making sure to turn them an odd number of times to prevent the eggs from becoming stagnant.
Step 6: Manage the Humidity
Managing the humidity levels during incubation is critical, especially during the last week of incubation. Increase the humidity levels to 60-70% to help the ducklings pip and zip the shell. Monitor the humidity levels closely to prevent over-humidification, which can lead to fungal growth and poor hatch rates.

Step 7: Prepare for Hatching
After 28 days of incubation, it's time to prepare for hatching. Stop turning the eggs 2-3 days before hatching, and increase the humidity levels to 70-80%. Make sure the incubator is clean, well-ventilated, and free from drafts. Monitor the eggs closely for signs of pipping, and assist the ducklings if necessary.

By following these 7 essential steps, you can increase your chances of successfully incubating duck eggs and hatching healthy ducklings.
Gallery of Printable Duck Egg Incubation Charts


What is the ideal temperature for incubating duck eggs?
+The ideal temperature for incubating duck eggs is between 99°F and 100°F (37°C to 38°C).
How often should I turn the eggs during incubation?
+Turn the eggs 2-3 times a day, making sure to turn them an odd number of times to prevent the eggs from becoming stagnant.
What is the ideal humidity level for incubating duck eggs?
+The ideal humidity level for incubating duck eggs is 50-60% for the first 25 days, and 60-70% for the last week of incubation.
