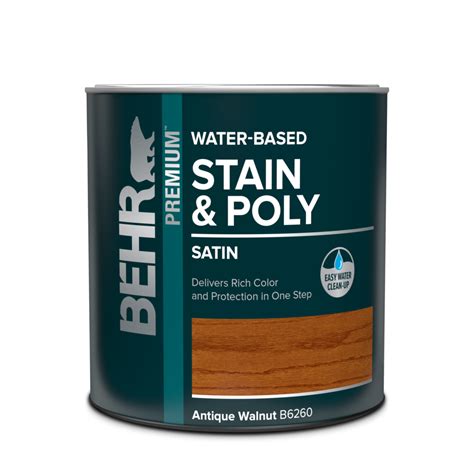
Applying Behr stain and poly can be a rewarding DIY project that transforms the look of your furniture or flooring. However, achieving a perfect finish requires some planning, patience, and attention to detail. Here's a step-by-step guide to help you achieve a flawless Behr stain and poly application.
Understanding the Importance of Preparation
Before diving into the application process, it's essential to understand the importance of preparation. A well-prepared surface is crucial for a successful stain and poly application. This involves cleaning, sanding, and ensuring the surface is free of dust, dirt, and other contaminants.

Step 1: Prepare Your Surface
The first step in achieving a perfect Behr stain and poly application is to prepare your surface. This involves:
- Cleaning the surface with a mild detergent and water
- Sanding the surface to smooth out any rough spots and create a better bond between the wood and stain
- Wipe down the surface with a tack cloth to remove any dust or debris
Step 2: Choose the Right Stain
With your surface prepared, it's time to choose the right Behr stain for your project. Consider the color, type of wood, and desired finish when selecting your stain. Make sure to read the instructions and follow any recommended application procedures.

Step 3: Apply the Stain
Once you've chosen your stain, it's time to apply it to your surface. Follow these steps:
- Use a clean, lint-free cloth or foam brush to apply the stain
- Work in small sections, applying the stain in the direction of the wood grain
- Use a clean cloth to wipe away any excess stain and prevent pooling
Step 4: Allow the Stain to Dry
After applying the stain, allow it to dry according to the manufacturer's instructions. This can take anywhere from 15 minutes to several hours, depending on the type of stain and environmental conditions.

Step 5: Apply the Polyurethane
With the stain dry, it's time to apply the polyurethane. Follow these steps:
- Use a clean, lint-free cloth or foam brush to apply the polyurethane
- Work in small sections, applying the polyurethane in the direction of the wood grain
- Use a clean cloth to wipe away any excess polyurethane and prevent pooling
Step 6: Allow the Polyurethane to Dry
After applying the polyurethane, allow it to dry according to the manufacturer's instructions. This can take anywhere from 30 minutes to several hours, depending on the type of polyurethane and environmental conditions.

Step 7: Inspect and Touch Up
The final step in achieving a perfect Behr stain and poly application is to inspect and touch up any imperfections. Check for:
- Uneven color or finish
- Excess stain or polyurethane
- Dust or debris
Use a clean cloth and a small amount of stain or polyurethane to touch up any imperfections.

Gallery of Behr Stain and Poly Application


FAQs
What is the best way to apply Behr stain and polyurethane?
+The best way to apply Behr stain and polyurethane is to follow the manufacturer's instructions and use a clean, lint-free cloth or foam brush.
How long does it take for Behr stain and polyurethane to dry?
+The drying time for Behr stain and polyurethane can vary depending on the type of product and environmental conditions. Follow the manufacturer's instructions for recommended drying times.
Can I use Behr stain and polyurethane on any type of wood?
+Behr stain and polyurethane can be used on most types of wood, but it's essential to read the instructions and follow any recommended application procedures.
By following these 7 steps and tips, you can achieve a perfect Behr stain and poly application that enhances the beauty and durability of your wood surfaces.
