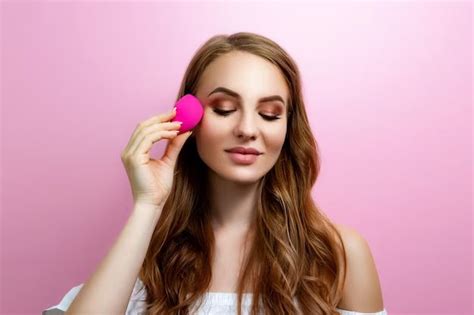
Makeup application is an art that requires precision, patience, and the right tools. One of the most essential tools in a makeup artist's arsenal is the applicator sponge. This humble sponge has revolutionized the way we apply makeup, making it easier, faster, and more efficient. In this article, we will explore the world of applicator sponges, their benefits, and how to master the art of makeup application with these amazing tools.

The Benefits of Using an Applicator Sponge
Applicator sponges have become a staple in the makeup industry due to their numerous benefits. Here are some of the advantages of using an applicator sponge:
- Flawless Finish: Applicator sponges help create a flawless, airbrushed finish that is difficult to achieve with brushes or fingers. The sponge's texture and absorbency allow for a smooth, even application of makeup.
- Easy to Use: Applicator sponges are incredibly easy to use, even for beginners. They require minimal technique and can be used to apply a wide range of makeup products, from foundation to concealer to powder.
- Versatile: Applicator sponges can be used to apply various types of makeup products, including cream, liquid, and powder. They can also be used to blend and smooth out makeup, creating a seamless finish.
- Hygienic: Applicator sponges are a more hygienic option than using fingers or brushes, which can harbor bacteria and cause breakouts.
Choosing the Right Applicator Sponge
With so many applicator sponges on the market, it can be overwhelming to choose the right one. Here are some factors to consider when selecting an applicator sponge:
- Material: Look for sponges made from high-quality materials that are gentle on the skin and durable. Natural sea sponges are a popular choice, but synthetic sponges can also be effective.
- Shape: Applicator sponges come in various shapes and sizes. Look for a sponge that is easy to maneuver and fits comfortably in your hand.
- Texture: The texture of the sponge is crucial for creating a smooth, even finish. Look for a sponge with a soft, porous texture that will absorb and distribute makeup evenly.

Mastering Makeup Application with an Applicator Sponge
Now that we've covered the benefits and selection process of applicator sponges, let's dive into the nitty-gritty of mastering makeup application with these amazing tools.
- Preparation: Before using an applicator sponge, make sure to wash and dry it thoroughly. This will ensure that the sponge is clean and free of bacteria.
- Application: Dip the sponge into your makeup product and gently squeeze out any excess. Apply the makeup in a smooth, even motion, starting in the center of the face and working your way outwards.
- Blending: Use the sponge to blend and smooth out makeup, creating a seamless finish. Gently bounce the sponge across the skin to blend edges and create a natural-looking finish.

Tips and Tricks for Using an Applicator Sponge
Here are some tips and tricks for using an applicator sponge:
- Use a light touch: Apply gentle pressure when using an applicator sponge to avoid pulling or tugging on the skin.
- Blend, blend, blend: Blending is key when using an applicator sponge. Make sure to blend edges and create a seamless finish.
- Clean and maintain: Clean and maintain your applicator sponge regularly to prevent bacterial buildup and extend its lifespan.

Common Mistakes to Avoid When Using an Applicator Sponge
While applicator sponges are relatively easy to use, there are some common mistakes to avoid:
- Using too much pressure: Applying too much pressure can cause the sponge to drag or pull on the skin, creating an uneven finish.
- Not blending enough: Failing to blend edges and create a seamless finish can result in a cakey or uneven finish.
- Not cleaning the sponge: Failing to clean and maintain the sponge can lead to bacterial buildup and breakouts.

Conclusion
Mastering makeup application with an applicator sponge requires practice, patience, and the right techniques. By following the tips and tricks outlined in this article, you can achieve a flawless, airbrushed finish that will make you look and feel like a pro. Remember to choose the right sponge, use a light touch, and blend, blend, blend!
We hope this article has inspired you to try out an applicator sponge and take your makeup game to the next level. Share your favorite makeup tips and tricks with us in the comments below, and don't forget to follow us for more makeup tutorials and product reviews!


What is the best way to clean an applicator sponge?
+The best way to clean an applicator sponge is to wash it with mild soap and warm water. Rinse thoroughly and allow to air dry.
How often should I replace my applicator sponge?
+It's recommended to replace your applicator sponge every 1-3 months, depending on usage and cleaning frequency.
Can I use an applicator sponge with cream or liquid makeup?
+Yes, applicator sponges can be used with cream or liquid makeup. Simply dip the sponge into the product and apply as usual.
