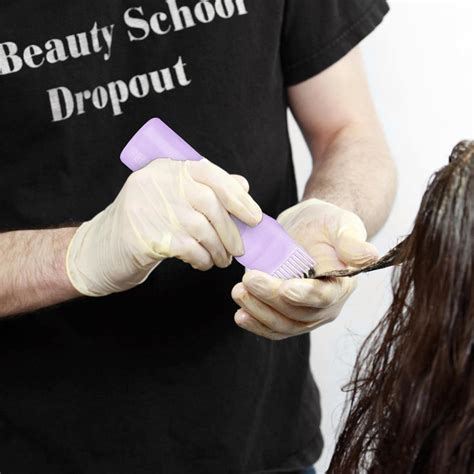
Are you tired of dealing with messy hair color applications? Do you struggle to achieve salon-quality results at home? If so, you're not alone. Many people find the process of applying hair color to be frustrating and time-consuming. However, with the right tools and techniques, you can achieve professional-looking results in the comfort of your own home. One of the most effective tools for hair color application is an applicator bottle. In this article, we'll explore five tips for using an applicator bottle for hair color.
Applicator bottles are a game-changer for at-home hair color applications. They allow for precise control over the amount of color applied to each section of hair, making it easier to achieve consistent results. With an applicator bottle, you can apply color directly to the roots, mid-lengths, or ends of your hair, depending on your desired outcome.

Tip 1: Choose the Right Applicator Bottle
Not all applicator bottles are created equal. When selecting an applicator bottle for hair color, look for one that is specifically designed for hair color application. These bottles typically have a narrow nozzle or tip that allows for precise control over the amount of color applied. You'll also want to consider the size of the bottle, as well as the material it's made of. Look for a bottle that is easy to squeeze and made of a durable material that can withstand repeated use.
Types of Applicator Bottles
There are several types of applicator bottles available for hair color application, including:
- Plastic applicator bottles: These are the most common type of applicator bottle and are typically inexpensive.
- Glass applicator bottles: These are a popular choice among hair colorists, as they are easy to clean and can be sterilized.
- Silicone applicator bottles: These are flexible and easy to squeeze, making them a great choice for those with arthritis or limited hand strength.
Tip 2: Prepare Your Hair
Before applying hair color with an applicator bottle, it's essential to prepare your hair. This includes washing your hair with a clarifying shampoo to remove any product buildup, towel-drying your hair to remove excess moisture, and sectioning your hair to make it easier to apply the color.

Sectioning Your Hair
Sectioning your hair is a crucial step in the hair color application process. This involves dividing your hair into sections, depending on how many colors you're using and how complex your design is. You can use clips or rubber bands to section your hair, making it easier to apply the color.
Tip 3: Mix Your Color
Once you've prepared your hair, it's time to mix your color. This involves combining the hair color product with a developer, which is a hydrogen peroxide-based solution that helps to activate the color. Be sure to follow the instructions carefully, as the ratio of color to developer can affect the outcome.

Ratio of Color to Developer
The ratio of color to developer can vary depending on the type of hair color you're using and the desired outcome. A general rule of thumb is to use 1 part color to 1 part developer for a standard application. However, if you're looking for a more subtle result, you may want to use a higher ratio of developer to color.
Tip 4: Apply the Color
With your color mixed and your hair prepared, it's time to apply the color. This involves using the applicator bottle to apply the color directly to your hair. Be sure to follow the instructions carefully, as the application process can vary depending on the type of hair color you're using.

Applying Color to the Roots
When applying color to the roots, use a gentle squeezing motion to release the color from the applicator bottle. Be sure to saturate the roots thoroughly, but avoid overlapping or applying too much color to one area.
Tip 5: Process the Color
Once you've applied the color, it's time to process it. This involves leaving the color on your hair for a specified amount of time, depending on the type of hair color you're using and the desired outcome. Be sure to follow the instructions carefully, as over-processing can damage your hair.

Timing is Everything
Timing is everything when it comes to processing hair color. Be sure to set a timer and follow the instructions carefully, as over-processing can damage your hair.


By following these five tips, you can achieve professional-looking hair color results at home using an applicator bottle. Remember to choose the right applicator bottle, prepare your hair, mix your color, apply the color, and process the color carefully to achieve the best results.
What type of applicator bottle is best for hair color application?
+A plastic or glass applicator bottle with a narrow nozzle or tip is best for hair color application.
How do I prepare my hair for hair color application?
+Wash your hair with a clarifying shampoo, towel-dry your hair, and section your hair to make it easier to apply the color.
What is the ratio of color to developer for a standard hair color application?
+A general rule of thumb is to use 1 part color to 1 part developer for a standard application.
